
Note:
Please read these instructions carefully to familiarize yourself with the required tools, materials, and installation sequences. Follow the sections that pertain to your particular installation. This will help you avoid costly mistakes. In addition to proper installation, read all operating and safety instructions. These instructions contain important care,cleaning,and warranty information-please leave these instructions for the consumer.
Installation
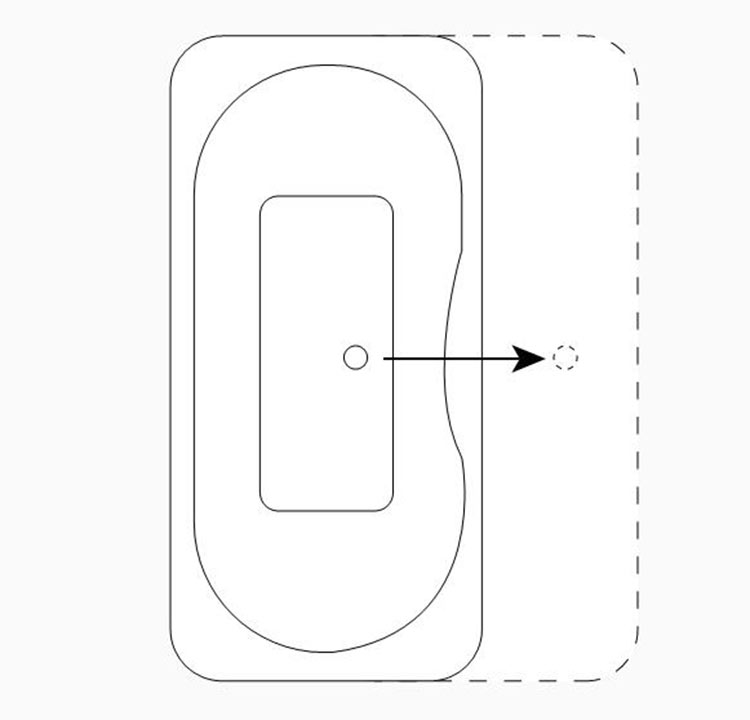
1.Set the tub in the desired installation location& mark the drain hole location on the floor.
2.Move the tub away from the installation location so that the plumbing can be installed.The drainpipe should extend approximately 6"above the finished floor.
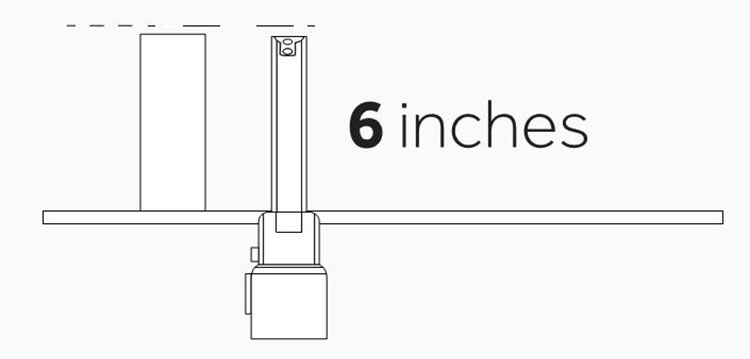
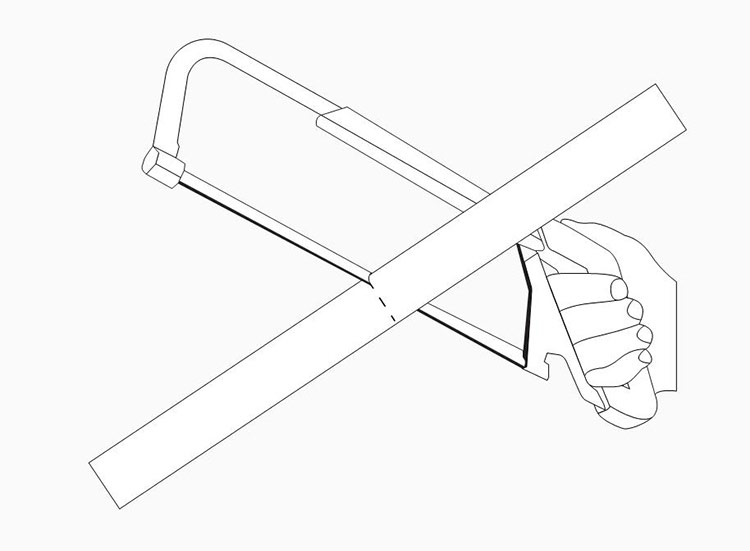
3.Trim the 1-½"PVC drain pipe extending from the floor to the appropriate length.This can be determined by attaching the drain to the tub and measuring the distance from the finished floor to the center of the fitting socket.
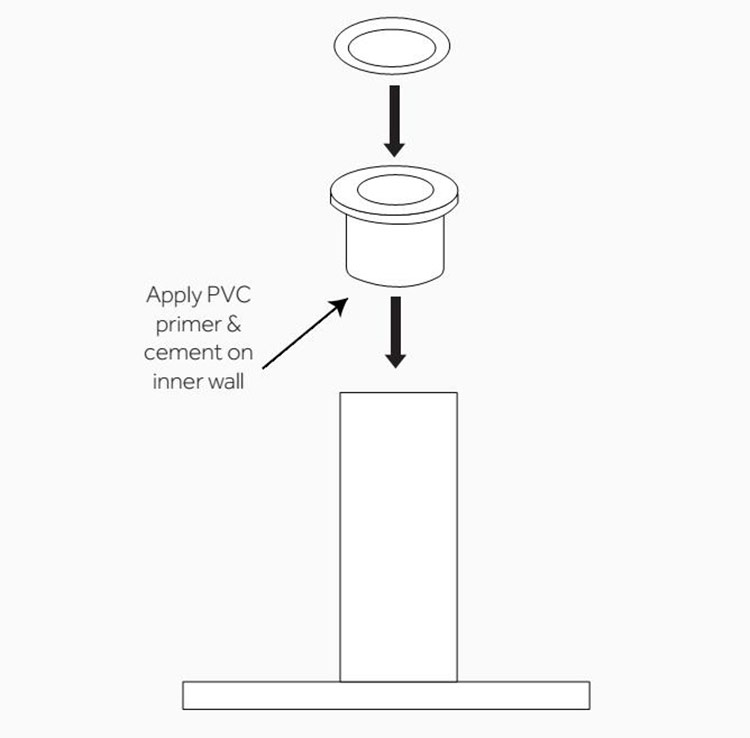
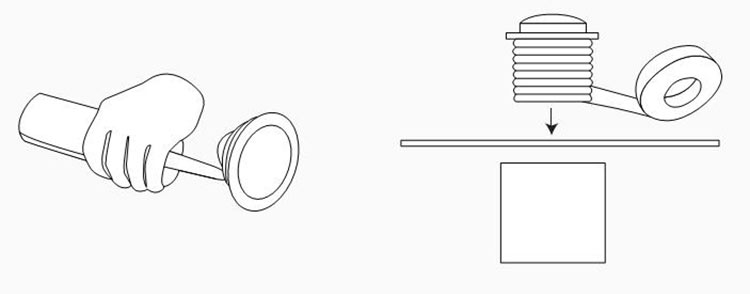
4.Attach the drain’s hub adapter to the PVC pipe with PVC primer and cement. Place the rubber washer on the rim of the adapter.
 5.Carefully set the tub into position over the drain.
6. Apply 100% neutral cure silicon esealant to the under side of the drain flange and thread it through the tub and into the drainpipe. Apply thread seal an tor plumber’s tape to the threaded connection to ensure awater-tight seal. Tighten by hand. Wipe away any
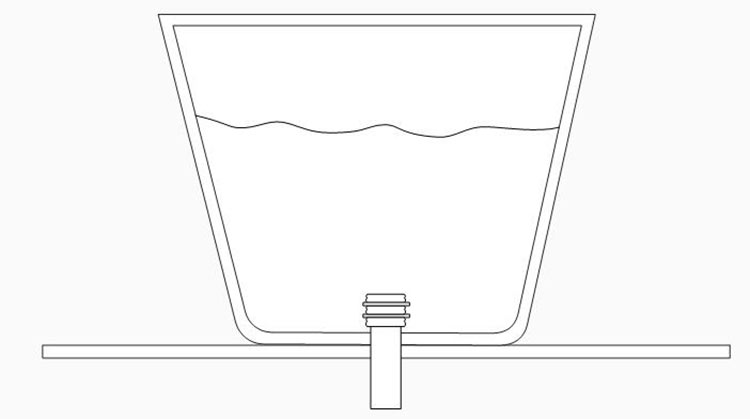
7 .Fill the tub with water to check for any leaks from the connections. Verify that the drain is working properly.
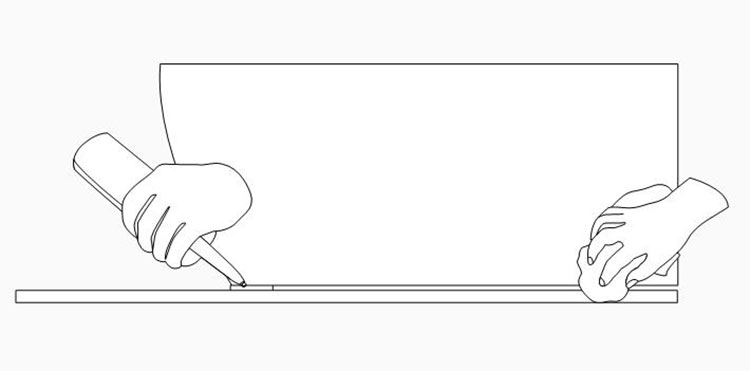
8. Finish your installation by running a bead of neutral cure silicone sealant around the base of the tub where it meets the floor. Wipeaway any excess sealant with a damp cloth.
Resin has a nonporous surface that makes it resistant to stains, scratches and discoloration. To maintain the condition your new resin tub, simply wipe the surface with a dry, soft cloth after each use. Most dirt and dust will wash off with clean, warm water. For a more thorough cleaning, be sure to use a mild cleaner such as a gentle dish soap. Avoid any products that contain abrasives, acids, orammonia.
Scratch Remove
1.Use warm water to remove dirt and dust from the surface.
2.Use 800 sandpaper (coarse-grit) and rubin small, circularmotions until the scratch is gone.
3.Follow with 1200 sandpaper (fine-grit) and rub over the surface of the scratch to smooth and blend.
4.Dry with a towel.
5.Polish the surface with a cloth and a polishing compound.Any auto mobile polishing compound will suffice.
After - sale protection
Kobiabath solid surface offers 10 year limited warranty.
This warranty applies to all Kobiabath products. Kobiabath warrants to the owners that there should be no material defects arising from Kobiabath sheets or shaped products for a period of 10 years from the date of purchasing Kobia® products. With the product warranty Kobiabath provides free maintenance and replacement service where our service agent determines that the products contain material defect.
The warranty does not cover damage caused by mishandling, misuse, and damages arising from excessive heat or exposure to weather conditions.